
I have a confession to make, dear Braisers. I haven't been making desserts lately. I don't know why....maybe it's my decision to be a little healthier that has steered my subconscious away from sugar (and towards duckfat, bacon, and cream soups), maybe there's some insecurity in the face of some of the wonderful desserts presented by my friends.....or maybe it's just that I have a penis. Who can say? But I recently had the opportunity, nay privilege of making one. And not just any dessert....one of those fancy ones with the foreign names. Of course I'm referring to....Tiramisu.
Here's how it all went down.
 I don't know how many of you remember, but a little while ago, I wrote a little story. It was about how, while traveling in Europe, my traveling companion and I, in a star-crossed attempt at walking to the Catacombs accidentally stumbled across a gorgeous and unique restaurant. One of the oldest working restaurants in Rome, actually...Hostaria Antica Roma, and it's chef/server/owner/all around friendly guy, Paolo. You can read all about it here, if you'd like.
In doing some of the research for the entry, I sought out their website and Facebook pages (the story took place many years ago, so I had to drain some of the scotch from the old memory bank). When I was finished with the whole thing, I sent a copy to Paolo. Thought he might get a kick out of it. That was all...
...and then about a week or so later I got an Email.
It was Paolo.
He was giving me his Tiramisu recipe to use in the blog!
Fuck. Yes.
I HAD to make it! There was just no way around it....people don't just give up their money-making recipes to some douchebag online everyday, do they? No, really. DO they?? Lemme tell ya gang, this is the real deal and it is bangin' I'm just gonna give you the straight text from Paolo himself (any procedural notes I have will be made in red...and any dick or fart jokes I have will be in blue). So without further ado:
Paolo's Tiramisu
Yer gonna need:
 500g Mascarpone Cheese (approx 1 lb)
6 Pasteurized Eggs
2 Pkgs Savoiardi Lady Fingers
3 Tbl Sugar
8 Espresso-sized cups of coffe (approx 14 oz)
4 Tbl Powdered Unsweetened Cocoa
**Couple of notes on your ingredients before we get started: There are a couple different kinds of lady fingers to choose from, they range from long slender LADY fingers, to thick, flabby, spongy PLUMMERS fingers. Get as close to you can to the slender ones. They'll look more like crisp cookies than spongecake. Also, I took a look at there's about 20 different ingredients (mostly unpronounceable chemicals) in the spongy fingers compared to 5 (all of which easily recognizable) in the cookie fingers.
Also it may be interesting to note that this is absent of the brandy, rum, or coffee liqueur often found in Tiramisu recipes.**
Also it may be interesting to note that this is absent of the brandy, rum, or coffee liqueur often found in Tiramisu recipes.**
Primary Steps:
1. Bring all ingredients to room temperature. [This cannot be stressed enough. Mascarpone is similar in texture to cream cheese and should be pretty soft before trying to incorporate anything into it. Overnight is perfect (don't worry the packages are sealed, so it won't go bad or anything) but a minimum of a couple hours is required. DO NOT SKIP THIS]
 2. Make and pour espresso into a shallow, flat-bottomed container. Add one Tsp cocoa and allow to cool to room temperature. [At this point Paolo points out that if you've decided instead to use regular coffee; take it and put it into a cup. Then drink it and make some real espresso, so don't skimp out. ]
3. Separate Egg Yolks and Whites.
 |
| air incorporated into yolks |
Mixing:
1. In the first mixing bowl, beat yolks and sugar until cream and lightened in color. Add Mascarpone & mix until blended.
 |
| mascarpone added |
 |
| mixture fully incorporated |

 2. In a second mixing bowl, beat egg whites until fluffy. If you use pasteurized eggs, this may take a while. [Boy he's not kidding. Pasteurized eggs are eggs that have been heated to a specific temperature for a specific amount of time in order to kill any harmful bacteria inside. Since we're using raw eggs and we're not gonna be cooking them, it's important to have them. But if you trust your egg source and haven't had any problems or anything, go with regular. The pasteurized egg typically behaves and tastes like a regular egg, but it DOES take a lot longer to whip. I enlisted the aid of my trusty stand mixer.]
2. Fold beaten egg whites into Mascarpone mixture. Mix only enough to blend. Over mixing will deflate the egg whites.
3. Quickly dip Savoiardi in the espresso bowl. To get the right amount of espresso on the Savoiardi, lay the finger flat in the bottom of the container with the espresso sugar side UP. Immediately pull it out. Then place each finger in your serving dish sugar side DOWN. The finger will quickly soak up the espresso, so if you soak the Savoiardi, you'll end up with a soggy mess instead of moist fingers. [heh....moist fingers].

Assembly:

2. Spoon a layer of the Mascarpone mixture across the layer of Savoiardi. Use about 1/2 of the Mascarpone mix. The layer should be about 1cm (3/8 in) thick.
 3. Dip and lay another layer of Savoiardi on the Mascarpone layer as before, sugar side down. Drip more espresso over the fingers if they're not dark enough.
  4. Spoon a second layer of Mascarpone/egg mixture across the second layer of Savoiardi. Use the remaining Mascarpone mixture. The layer should be about 1cm (3/8in) thick. [I still had the materials; lady fingers, mixture, and espresso, as well as the headroom in the dish to do a third layer. My dish was a 2qt, 8 1/2 x 10 or so.]
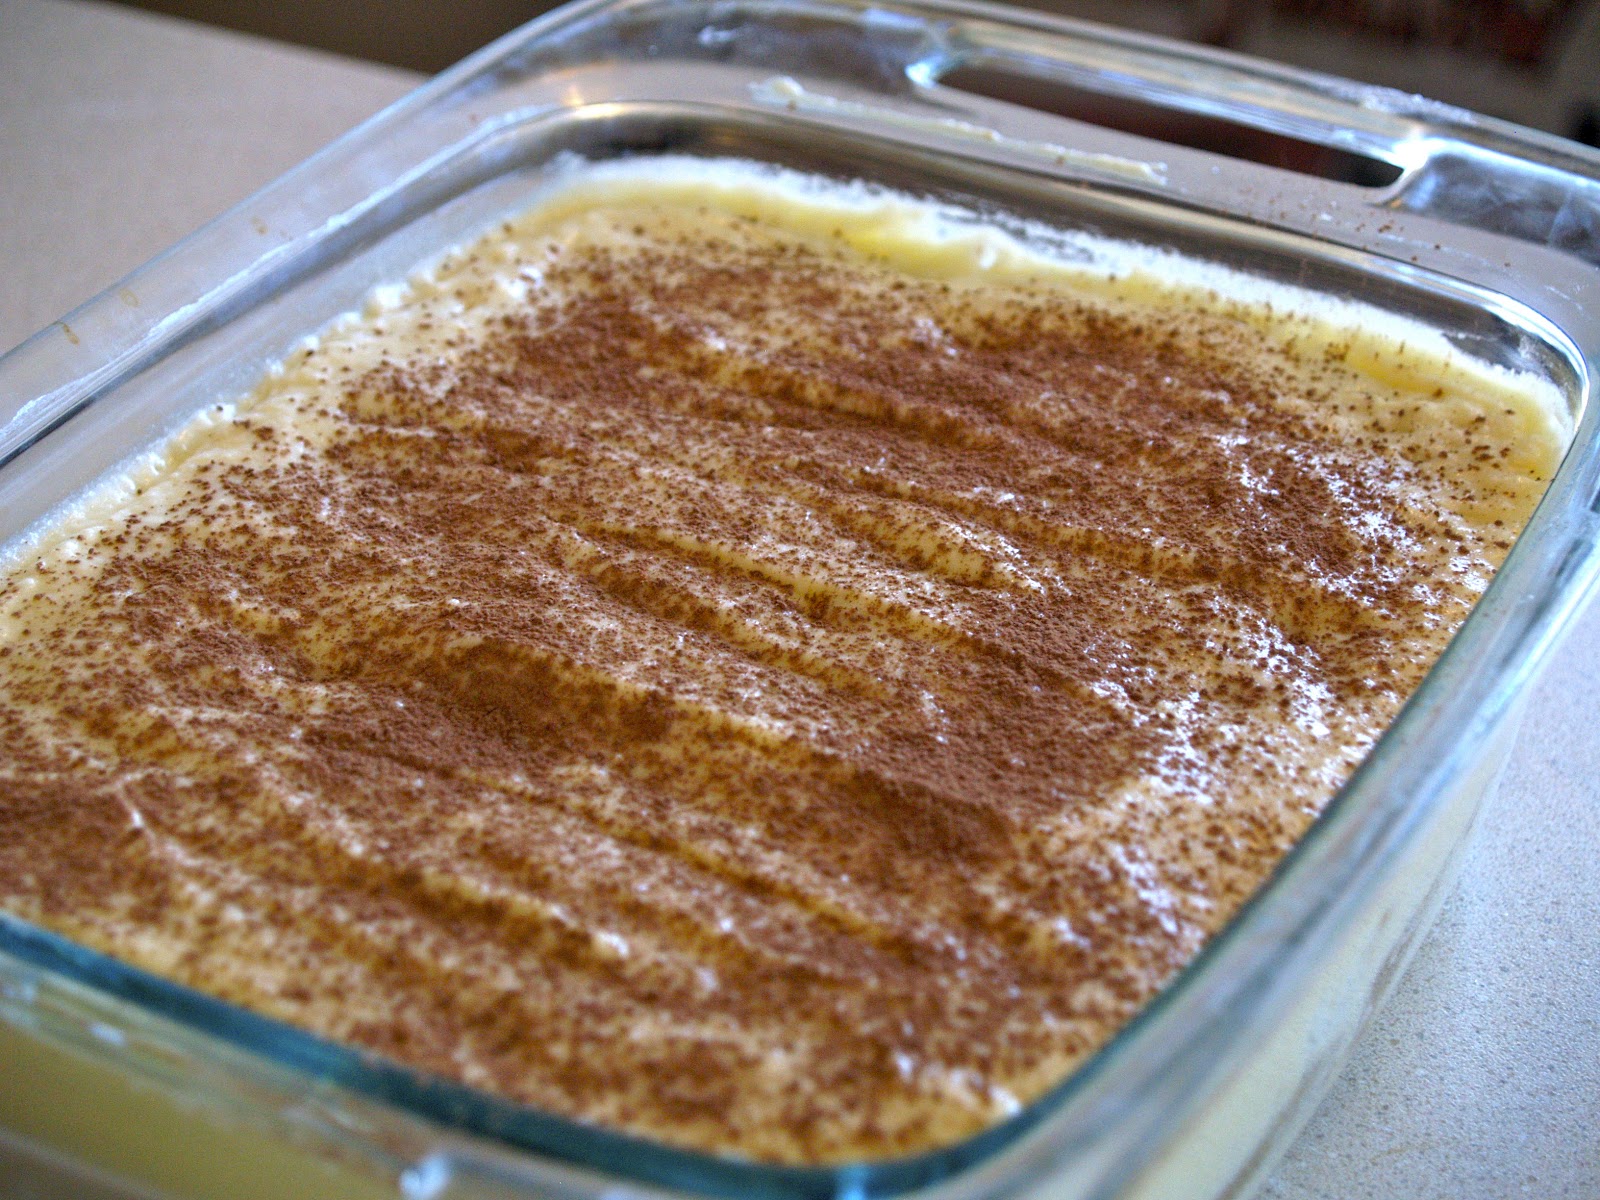
5. Sift cocoa on the final mascarpone layer. Do this evenly by spooning the cocoa into a fine mesh sieve. Hold the sieve over the Tiramisu and tap with your finger. Cocoa should sprinkle down in an even layer. Use this technique to cover the Tiramiso with a very thin layer of cocoa.
Refrigerate for at least 4 hours before serving. The Tiramisu will taste quite good for several days if refrigerated. [This might be true. It hasn't lasted that long.]
So how does it taste? Brilliant. Make no mistake, though...this is not the Tiramisu you'll find at the Macaroni Grill or...(shudder)....Applebee's, with it's cloying sweetness and sterile coffee flavor. This is a completely different animal: the coffee is forward and vibrant with it's many nuances coming through (which is why it's important not to skimp on the real espresso), and the texture luxurious without being heavy, moist without being soggy with just a hint of chocolate. I didn't even miss the booze, though I'd be curious to see what it would be like with it....next time.
Thanks, Paolo! And thanks to you all for reading. See ya next time. I'm feeling like some corned beef....


